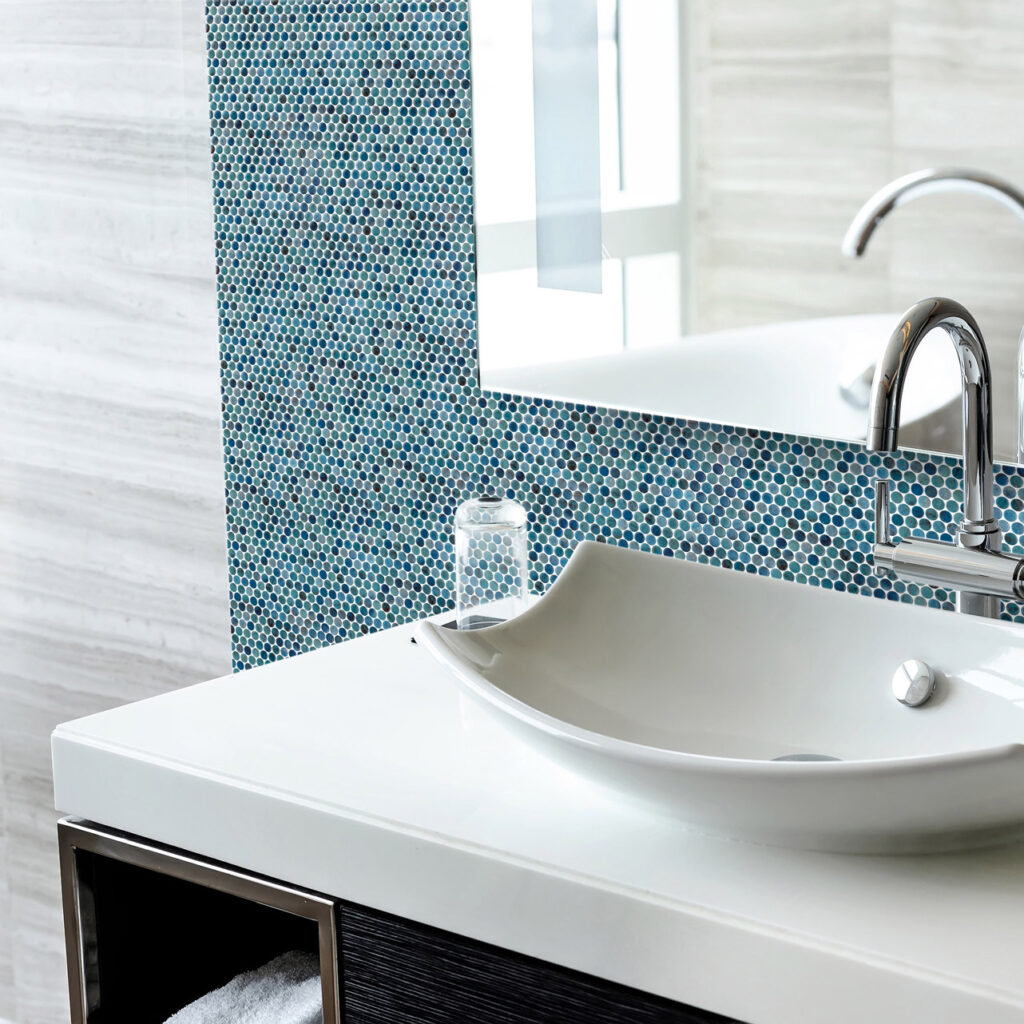
Glass mosaic is an aesthetic solution that meets the most elegant and original interior designs. And, contrary to what you might think, installing the mosaic is very simple.
This is how to install glass mosaic.
Before installing the mosaic…
You must prepare the support on which you are going to lay the mosaic.
To ensure good adhesion of the mosaic to the walls or floors, the support must be completely clean, without dirt or traces of plaster or enamel…
You must also ensure that the support is not damp and is free of cracks so that it is perfectly smooth and uniform. In addition, it must be white. A different color can damage the aesthetics of the final result.
ONIX mosaic installation guidelines
Once the surface is in perfect condition, proceed to the installation of the glass mosaic. Here are the steps:
1. Gluing
Using a trowel spread uniformly a layer of white adhesive cement type C2. Then with the notched side of the trowel (2 to 3 mm) comb the adhesive cement.
It is important that there is no excessive adhesive so that it does not stick out and stain the front side during the later installation.
2. Laying
Start by laying the mosaic on a corner of the floor or wall, this way we reduce to the maximum the mismatches in the number of meshes and the possibilities of cutting the tesserae.
Very important! Keep the correct distance between all the meshes so that the joints have the same distance as there is between the tesserae. We advise to lock the sheets when placing them.
Then, press the meshes on the surface with a rubber trowel. This way, the adhesive penetrates between the tesserae for a total adhesion. In addition, it is necessary to bear in mind that all the meshes must be leveled.
3. Remove excess support
If any excess support appears during the tile laying process, clean the surface with a wet cellulose sponge.
Allow the adhesive cement to dry for a maximum of 24 hours.
4. Grouting
Once the mosaic mesh is in perfect condition, use a rubber trowel and a RG type grouting paste according to EN 13888 to start grouting, for instance, in this case we have used the Epoxy paste.
5. Remove excess joint
Once the surface is ready, remove the excess material by passing the trowel in a diagonal direction so that all the joints are levelled with the tesserae.
6. Clean with an abrasive sponge
Clean the surface with an abrasive sponge previously damped with water.
7. Clean with cellulose sponge
For a good finish it is very important to clean the meshes with a cellulose sponge damped with clean water in each pass.
8. Finishing
We recommend to clean the surface after 20 minutes and finally use the Epoxy Cleaner to remove the product residues.
This same process is also applicable with the cementitious paste. Any questions? Don’t worry! Get in touch and the technical team of Onix Mosaic will be glad to help.